
Vaporesso XROS Pro 2 Charging & Setup Guide
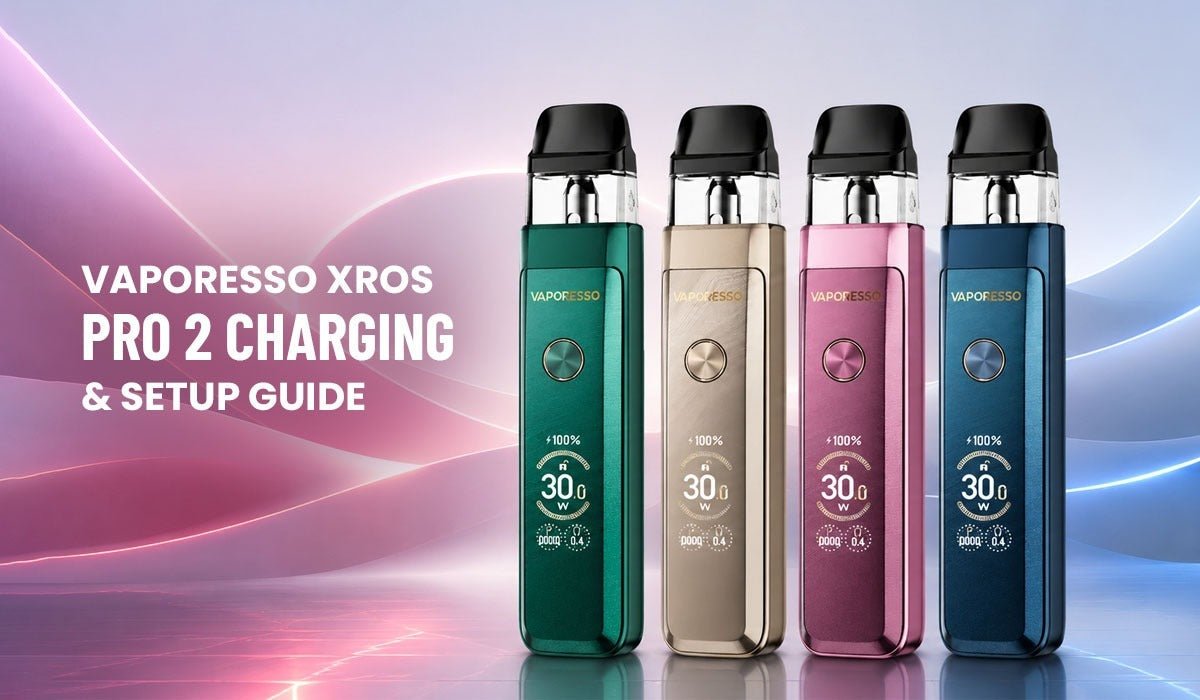
The Vaporesso XROS Pro 2 has become one of the most searched pod vape kits among new vapers who want a simple and reliable option for daily use. Anyone picking up the Vaporesso XROS Pro for the first time usually wants clear steps on how to charge it, fill it and get it working smoothly without confusion. The XROS Pro 2 stands out among other pod vape kit options because of its compact build, strong battery life and easy pod system that most beginners find comfortable to handle. If you recently bought the Vaporesso XROS Pro 2 Pod Vape Kit you might be wondering where to start and how each part of the device works together. Every stage of the setup process from unboxing to your first puff so that new users of the Vaporesso XROS Pro can feel confident using their device right away. Many people search for a Vaporesso Pod Kit that offers strong Flavour along with simple handling and the XROS series has built a solid reputation for delivering exactly that. Whether you are switching from another brand or trying a Vaporesso XROS Pro model for the very first time explains each setup stage in a clear and simple manner. The Vaporesso XROS line has grown popular across the United Kingdom because of its balance between performance size and ease of use making the XROS Vape Kit a common choice for both new and experienced users.
First Time Setup Steps Explained
Many people buy the device without checking how the pod fits or how the charging port works. This often leads to confusion during the first use. A pod vape kit like this one is built to be simple but a few small steps need attention so the device performs well from day one. Skipping these steps can cause leaking pods, weak battery performance or a burnt taste during the first session. Understanding the order in which each step should be done makes the whole process much smoother.
A Vaporesso Pod Kit is designed for daily convenience so getting the setup right the first time saves both time and effort later. The XROS Pro 2 uses a refined pod design paired with adjustable airflow and a smooth draw activation system. Once the basics are clear the device becomes easy to handle even for someone who has never used a pod vape kit before. New users often feel unsure about the order of steps but once you follow a simple routine each session after the first becomes almost automatic.
It also helps to set aside a few quiet minutes for the first setup rather than rushing through it between other tasks. Taking your time during this first session means you are less likely to miss a small detail such as a loose pod or an unfilled coil. Once the routine becomes familiar the entire process from charging to your first puff takes only a few minutes on any future occasion.
What Comes Inside The Box
Before starting the setup it helps to check what is included inside the box. The standard package usually contains the following items.
- One Vaporesso XROS Pro 2 device body
- One replacement pod along with the one already fitted
- A USB Type C charging cable
- A user manual card
- Extra silicone seal for the pod opening
Checking these items first avoids confusion later when connecting the charging cable or fitting the pod. A missing seal or cable can be requested from the seller before starting regular use. It also helps to keep the manual card nearby during the first week since it often lists small details specific to your batch of the Vaporesso XROS Pro 2 that are worth knowing.
Charging Before You Begin
Charging the device fully before the first session is one of the most important steps. A pod vape kit battery performs better and lasts longer over time when it receives a complete charge cycle right from the beginning. Rushing this stage is one of the most common reasons a new device feels weak during its first few sessions.
Steps to charge the device properly.
- Locate the USB Type C port at the bottom of the device
- Connect the supplied cable to the port and plug the other end into a five volt adapter or a laptop port
- Wait for the LED indicator light to turn on showing the charging status
- Allow the device to charge until the light changes color or turns off depending on the model batch
- Avoid using the device while it charges for the very first cycle
The Vaporesso XROS Pro battery usually takes close to an hour for a full charge depending on the power source used. A full charge before first use helps the internal cells settle and gives a more stable vaping session right from the start. Charging through a wall adapter tends to be quicker and more consistent than charging through a computer port so keep that in mind if you are short on time.
It is also worth noting that the battery indicator light behaves slightly differently across some batches of the device. If the light does not turn off exactly when charging finishes checking the manual card that comes with your Vaporesso XROS Pro 2 will confirm the pattern for your specific unit. Once you understand your own device the charging routine becomes something you barely need to think about each day.
Fitting The Pod Correctly
Once charging is done the next step is fitting the pod correctly. The XROS Pro 2 uses a magnetic pod system that snaps into place without needing extra force. This part of the process feels a little unfamiliar the first time but becomes second nature after a few tries.
Follow these steps to fit the pod.
- Remove the pod from its packaging and take off the rubber stopper covering the fill port
- Slide the pod into the top section of the device body
- Press gently until you hear or feel the magnetic click confirming it is seated
- Check that the pod sits flush with the body without any visible gap
A loose pod can cause air leaks or a weak draw so this step should never be rushed. The magnetic connection in the Vaporesso XROS Pro 2 makes pod replacement quick once you get used to the motion. Taking a moment to double check the fit before moving on saves you from having to troubleshoot a weak draw later.
Filling Without Spilling
Filling the pod correctly prevents leaking and keeps the Flavour clean during the first puffs. The XROS Pro 2 pod has a side fill port that is simple once you know where to look. Many new users pour too quickly the first time so a slow and steady approach works best.
- Hold the pod at an angle with the fill port facing upward
- Remove the rubber bung covering the fill hole
- Slowly pour the liquid into the pod avoiding the center airflow tube
- Fill until it reaches near the top line but leave a small air gap
- Replace the rubber bung firmly once filling is complete
After filling let the pod rest for about five minutes before use. This short wait allows the coil inside the Vaporesso XROS Pro 2 to soak properly which reduces the chance of a dry burnt hit during the first draw. It also gives the seal time to settle which lowers the chance of a small leak forming around the fill port.
Turning The Device On
Most pod vape kit devices use a simple button sequence to power on and this device follows the same pattern.
- Press the power button five times quickly to turn the device on
- Check the LED light to confirm the device has powered on
- Repeat the same five click pattern if you want to turn it off later
Some users prefer draw activation which many XROS Pro models support alongside the button function. Draw activation lets the device fire automatically when you inhale without pressing any button which some new vapers find more natural. If the light does not respond after a few tries check that the pod is seated properly and that the device has enough charge.
Switching between button mode and draw activation is usually a matter of personal comfort rather than performance. Some people like the extra control that comes with pressing a button before each draw while others prefer the simplicity of draw activation especially when moving around during the day. Trying both modes during the first week helps you decide which one fits your daily habits best on the Vaporesso XROS Pro 2.
Adjusting The Airflow Ring
The Vaporesso XROS Pro 2 comes with an adjustable airflow ring near the base of the pod. Turning this ring changes how tight or open the draw feels during use. This is one of the easiest ways to personalize the vaping experience without needing any extra tools.
- Turn the ring toward the smaller opening for a tighter mouth to lung draw
- Turn the ring toward the larger opening for a looser airier draw
- Test both settings during the first few sessions to find the preferred feel
New users often spend the first day testing different airflow settings before settling on one that suits their vaping style. The Vaporesso XROS line is known for offering flexible airflow which makes the device suitable for a wide range of preferences. Some prefer a tighter draw that feels closer to a traditional cigarette while others enjoy a looser airflow for bigger clouds.
It helps to remember that airflow also affects how quickly liquid moves through the pod. A very open setting can pull liquid faster which sometimes leads to a stronger Flavour but a quicker drop in the fill level. A tighter setting slows this down and can make a pod last a little longer between refills. Trying a middle position first before moving to either extreme is often the easiest way to find a comfortable starting point on the Vaporesso XROS Pro 2.
Priming The Coil First
Priming the coil is a step many people skip but it plays a big role in avoiding a harsh first hit on any pod vape kit. Since the pod was just filled letting it sit is part of priming but a few extra steps can help further.
- After filling the pod let it rest for five to ten minutes before use
- Take two or three gentle draws without pressing the fire button if using button mode
- This allows liquid to reach the coil wick evenly before full power is applied
Skipping this step is one of the most common reasons new users experience a burnt taste with a fresh pod. Giving the coil time to soak protects both the Flavour and the lifespan of the pod inside your Vaporesso XROS Pro 2. A little patience at this stage pays off across the entire life of the pod not just the first few puffs.
Taking Your First Puff
Once the pod is primed and the device is charged you are ready for the first puff. Start with short and gentle draws rather than long deep pulls. This helps you judge how the airflow setting feels and how the Flavour comes through.
- Take a short three second draw to start
- Wait a few seconds before the next draw
- Gradually move to your normal draw length once comfortable
The Vaporesso XROS Pro 2 is built to deliver smooth Flavour from the very first session as long as the pod has been primed correctly and the airflow is set to a comfortable level. If the first draw feels weak simply check the airflow ring position and adjust it slightly before trying again.
Flavour can also feel slightly different across the first few draws compared to how it settles after the pod has been used for a while. This is normal and usually evens out once the coil has fully soaked through regular use. Giving the Vaporesso XROS Pro 2 a short settling period during its first day of use often leads to a more consistent Flavour for the rest of the pod life.
Checking The Indicator Lights
The device uses LED lights to show battery status and other information. Knowing what each light means helps avoid confusion during daily use.
- A steady light while charging shows the battery is filling up
- The light turning off usually means charging is complete
- A flashing light during use often signals low battery or a pod connection issue
Keeping an eye on these lights helps you catch problems early such as a loose pod or a battery that needs charging before your next session. Once you learn what each pattern means you will rarely need to guess what the device is trying to tell you.
Some users also notice the light color changing slightly as the battery moves from a high charge toward a lower one. This gradual shift is a useful visual cue on the Vaporesso XROS Pro 2 and means you rarely need to open a companion app or count draws to know when it is time to plug the device in again.
Cleaning For Better Performance
Regular cleaning keeps the Vaporesso XROS Pro 2 working smoothly and prevents residue buildup around the pod connection area. This is a simple habit that takes only a minute but makes a noticeable difference over weeks of use.
- Wipe the pod contacts with a dry cloth every few days
- Clean the mouthpiece area gently to remove any liquid residue
- Avoid using water directly on the device body since it can affect the internal parts
A clean pod vape kit not only performs better but also tends to last longer between pod replacements. This small habit makes a noticeable difference in Flavour quality over time and helps the magnetic pod connection stay firm instead of loosening from built up residue.
It also helps to check the charging port every so often since dust and lint can gather there over time. A dry cotton swab is usually enough to clear out any buildup around the port. Keeping the contacts free of residue means the Vaporesso XROS Pro 2 will charge at a steady rate each time instead of showing an inconsistent connection.
A quick wipe down once or twice a week is usually enough for most people and does not require taking the device apart in any way. Keeping a small cloth nearby for this purpose makes the habit easy to stick with rather than something that gets forgotten after the first week of ownership.
Mistakes To Avoid During Setup
Several small mistakes can affect how the Vaporesso XROS Pro 2 performs during the first few days of use. Avoiding these helps the device run smoothly from the start.
- Using the device before the first full charge cycle
- Skipping the coil priming step after filling the pod
- Overfilling the pod past the recommended line
- Leaving the airflow fully closed which can cause a weak draw
- Not checking that the pod is seated properly before use
Being mindful of these points during setup makes a real difference in how the Vaporesso XROS Pro 2 performs during regular use. Most of these mistakes are easy to fix once you know what to look for and they rarely cause lasting issues if caught early.
Another point worth mentioning is storing spare pods properly before they are fitted to the device. Keeping unused pods upright in a cool place away from heat helps preserve the liquid inside and keeps the coil in good condition until it is ready to be used. A pod that has been stored on its side for a long period can sometimes leak slightly when first fitted so standing them upright is a simple habit worth building early.
Daily Habits For Better Use
Once the initial setup is complete the Vaporesso XROS Pro 2 becomes simple to maintain. A short daily routine keeps the device running well and helps you avoid running into low battery or empty pod situations at the wrong moment.
- Check the battery level before heading out for the day
- Keep a spare pod ready in case the current one runs low on liquid
- Store the device away from direct sunlight and extreme heat
- Charge the battery before it drops too low to avoid sudden shutdowns
Following these small habits helps the Vaporesso XROS Pro 2 stay reliable across daily sessions without unexpected issues. Building this routine within the first week means you will rarely think about maintenance after that since it becomes second nature.
Carrying the device in a pocket or bag without a case is generally fine but it helps to keep it away from loose coins or keys that could scratch the body over time. A short check before leaving home each morning covering battery level, pod level and airflow setting takes only a few seconds but saves you from running into problems later in the day. Once this becomes part of your routine the Vaporesso XROS Pro 2 feels less like a device you need to think about and more like something that simply works when you need it.
Final Thought
Setting up the Vaporesso XROS Pro 2 for the first time does not need to be complicated once you understand each step involved. From charging the battery fully to fitting the pod correctly and priming the coil before use every stage plays a part in how smooth your first vaping session feels. The Vaporesso XROS Pro 2 Pod Vape Kit has earned its popularity through a simple design paired with strong performance which makes it a practical choice for new users across the United Kingdom. Taking a few extra minutes during setup goes a long way toward getting consistent Flavour and steady performance from your Vaporesso XROS Pro right from day one. Whether you chose this device for its compact size or its flexible airflow settings following the steps above will help you get comfortable with your new Vaporesso XROS Pro 2 quickly and without frustration.
Once the first setup is behind you the rest of the experience becomes about small daily habits rather than technical steps. Keeping the pod filled, the battery charged and the contacts clean is really all it takes to keep the Vaporesso XROS Pro 2 running the way it did on the very first day. For anyone new to a Vaporesso XROS Pro model taking these early steps seriously sets the tone for a smooth and enjoyable experience with the device going forward.
Frequently Asked Questions
How long does the Vaporesso XROS Pro 2 take to charge fully?
A full charge usually takes close to an hour depending on the power source used. Charging through a wall adapter tends to be faster than through a laptop port.
Why does my Vaporesso XROS Pro 2 pod taste burnt on the first use?
This usually happens when the coil was not given enough time to soak after filling. Letting the pod rest for several minutes before the first draw helps prevent this issue.
Can I use the Vaporesso XROS Pro 2 while it is charging?
It is best to avoid using the device during its first charge cycle. This allows the battery cells to settle properly for better long term performance.
How do I know if the pod is fitted correctly in the XROS Pro 2?
The pod should sit flush with the device body with no visible gap. A properly seated pod will click into place through the magnetic connection.
What should I do if the LED light keeps flashing during use?
A flashing light often points to a low battery or a pod that is not seated properly. Checking the pod connection and charging the device usually resolves this.